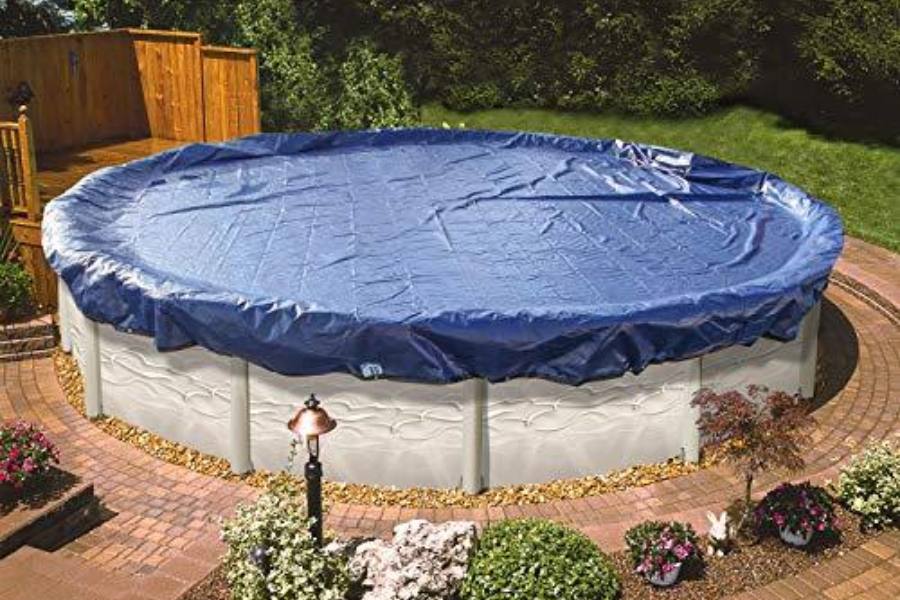
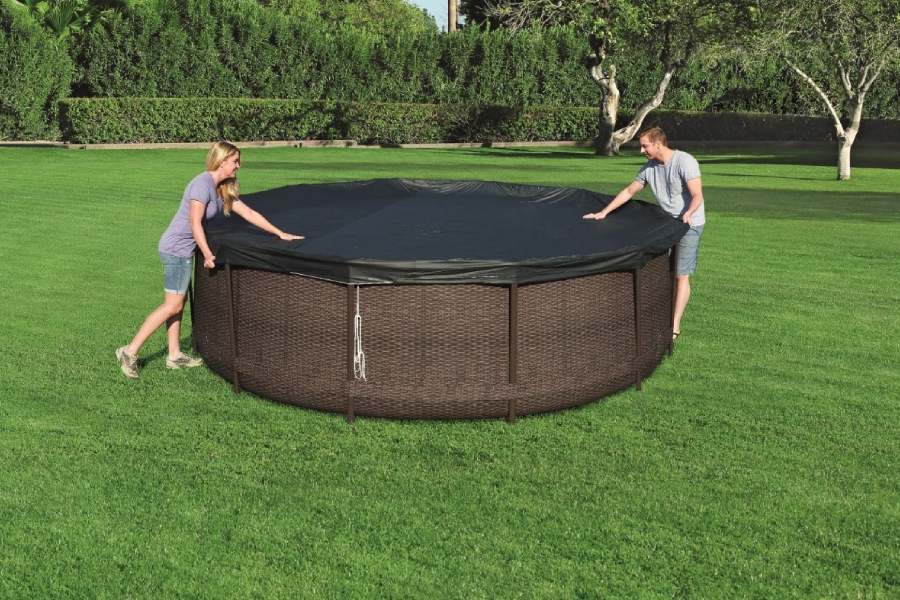
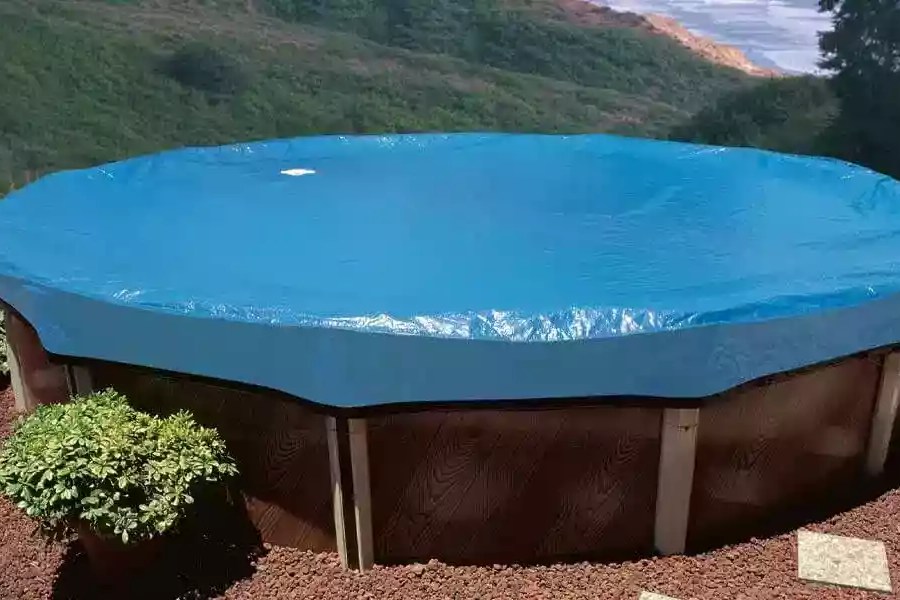
As summer gives way to the crispness of fall, it’s time to turn your attention to your above-ground pool. But before you close the door on your swimming season, have you considered how to install above ground pool cover for the colder months?
Installing a pool cover might seem straightforward, but it’s crucial to safeguarding your investment and ensuring a pristine swimming environment come spring. In this article, we’ll guide you through the various types of pool covers, the essential steps for installation, and tips to make the task a breeze.
Get ready to dive into the essentials of pool cover installation, transforming your pool into a secure sanctuary until the warm sun beckons you back to the water!

How to Install Above Ground Pool Cover
Using a pool cover is essential for protecting your investment, maintaining water quality, and ensuring safety. A pool cover shields the water from debris, reduces chemical evaporation, and prevents accidental falls, particularly when the pool is not in use.
When it comes to selecting a cover, several types of above-ground pool covers are available, each serving a distinct purpose. Safety covers provide year-round protection and are designed to support weight, ensuring the safety of children and pets. Conversely, winter covers shield the pool from harsh weather conditions and accumulated debris, helping preserve its integrity during the off-season.
Solar covers are an excellent choice for those who wish to maximize their pool’s efficiency during the swimming season; they help retain heat and minimize water evaporation, enhancing the overall swimming experience. In continuation, we will mention all the necessary steps.
Measuring your pool
Accurate measurements are essential for selecting and installing the right pool cover. When measurements are incorrect, it can result in inadequate protection, create potential safety hazards, and complicate the installation process.
To ensure accurate measurements, begin at the outside edges of the pool. For round pools, measure the diameter at its widest point. If you have an oval or rectangular pool, measure the length and width at their widest points. This careful attention to detail will help guarantee a proper fit for your pool cover.
Choosing the right cover
When selecting a pool cover, you must choose one that matches the size and shape of your pool. Consider important factors such as the material’s durability, UV resistance, and weight capacity to ensure long-lasting protection. Also, ensure the cover extends beyond the pool’s edge, safeguarding against debris and weather elements.
Your local climate and specific needs should also guide your decision. For instance, areas with heavy snowfall may require a stronger winter cover, while sunny regions might benefit more from a solar cover to retain heat and reduce evaporation.
Gathering necessary tools and materials
You should gather the right tools. Typically, you will need a measuring tape, scissors, a screwdriver, and possibly a power drill. Plus, a ladder can provide easier access to all areas of the pool during the installation process, ensuring that every part is reachable.
In addition to these tools, you’ll require various materials for a successful installation. This may include cover clips, cables, a winch, water bags, and a cover pump. To avoid delays or incomplete coverage, ensure you have all necessary parts on hand before you begin the installation.
Safety precautions
Always prioritize safety during installation. This means following the manufacturer’s guidelines and wearing appropriate protective gear when using power tools. It’s also crucial to avoid walking on the pool cover unless it is specifically designed to support weight, as this can lead to accidents.
Before you begin, clear the installation area of any obstacles that could cause trips or falls. Ensure you have stable footing around the pool, especially when handling large or heavy covers. A helper present can significantly enhance safety and efficiency, allowing you to navigate potential hazards easily.
Measuring and fitting the cover
Begin by double-checking your pool’s dimensions. Use a measuring tape to accurately verify the length, width, or diameter, ensuring precision to the nearest inch. This initial step is crucial for achieving a proper fit.
Next, carefully unfold the cover and spread it over the pool, starting from one end and gradually working your way across. As you do this, ensure the cover remains centered, adjusting it as needed to maintain even distribution on all sides.
Once the cover is in place, smooth out any wrinkles or folds. Pay special attention to the edges, ensuring they drape evenly over the pool sides. This meticulous adjustment is essential, as it helps prevent water and debris from getting underneath the cover.

Securing the cover with clips or cables
To install a cable system for your pool cover, begin by threading the cable through the grommets or loops of the cover. Secure one cable end to a stationary point and attach the other to a winch. Gradually tighten the cable to ensure a snug fit around the pool’s perimeter.
Once the cable is in place, inspect the cover for any loose areas or gaps that might allow wind to get underneath. If you notice any, make the necessary adjustments to ensure the cover is taut without overstretching. This careful adjustment helps prevent wind damage and enhances safety.
For additional security, consider using cover clips alongside the cable system. Position these clips around the pool’s edge at regular intervals, connecting the cover to the pool’s top rail. This extra support layer provides improved stability during strong winds, ensuring the cover remains securely in place.
Using a cover pump or water bags
Place a cover pump at the lowest point of the cover to automatically remove rainwater. This prevents excessive weight accumulation and potential cover or pool structure damage.
In addition to the pump, consider using water bags along the edges of the cover for increased stability. Ensure that these bags are evenly spaced and filled to the appropriate level. Creating a slight slope towards the pump facilitates better drainage, allowing water to flow smoothly into the pump without pooling.
Regular maintenance of the cover pump is also crucial for its effective operation. Check the pump frequently to ensure it functions properly and clear away any debris that might clog it. If you notice water pooling in unexpected areas, adjust the pump’s position accordingly.
How to Install Winter Pool Covers Above Ground
Before installation, it’s crucial to clean the pool and balance the water chemistry thoroughly. This prevents staining and ensures that the water remains healthy throughout the winter months.
Once the pool is clean, secure the winter cover using specialized clips designed specifically for your pool type. Space these clips evenly around the pool’s circumference, typically every 3 to 4 feet. To provide optimal protection, ensure the cover extends at least 6 inches beyond the pool’s edges.
Additionally, consider adding an air pillow under the cover to accommodate ice expansion. Position the air pillow in the pool’s center and secure it with ropes or clips. This step will also help prevent water from pooling on top of the cover during the winter, further protecting your pool.
How to Install Solar Cover on Above Ground Pool
Trimming the solar cover may be necessary to ensure a perfect fit for your pool. Use sharp scissors and adhere to the manufacturer’s guidelines to prevent damage to the cover and avoid voiding the warranty.
When placing the cover on the pool, ensure the bubble side faces down. This orientation is crucial as it maximizes heat retention and minimizes evaporation. Take the time to smooth out any wrinkles or air pockets, ensuring full contact with the water’s surface.
For added convenience, consider investing in a solar cover reel. This handy device allows you to quickly and easily roll up the cover whenever you wish to use the pool. When not in use, store the cover in a cool, dry location to protect it from damage and prolong its lifespan.

Conclusion
Knowing how to install above ground pool cover properly protects your investment as summer fades and cooler weather approaches. By measuring accurately, selecting the right cover, and gathering the necessary tools, you can ensure a secure installation that enhances our pool’s safety and longevity.
The right cover minimizes maintenance efforts and preserves water quality, making it easier to enjoy our pool come spring. If you need expert assistance in maintaining or installing our pool, Pool Installation Tampa is ready to support you every step of the way.
Contact us at Pool Installation Tampa for expert assistance in pool cover installation and all your pool needs. Your oasis awaits!
