Swimming pools have long been a symbol of relaxation and luxury. They offer a refreshing escape from the heat and provide a perfect setting for gatherings with family and friends. As the sun sets, however, many pool owners find themselves longing to extend their aquatic enjoyment into the evening hours.
This is where pool lighting comes into play, transforming an ordinary backyard into a mesmerizing oasis of shimmering water and ambient glow. In this article, we’ll dive into the process for how to install pool light. We will explore the various options available and guide you through the essential steps to illuminate your aquatic paradise.
Proper pool illumination enhances aesthetics and improves safety for nighttime swimmers. Understanding the installation process is crucial for both new and existing pools. Join us as we explore the world of pool lighting, helping you transform your nighttime swimming experience.

How to Install Pool Light?
Installing pool lights involves selecting the right lights, preparing the pool area, following manufacturer instructions, and testing the system. Proper planning ensures long-term effectiveness. Inground pool lights enhance safety by improving visibility, preventing accidents, and aiding supervision.
They also elevate aesthetic appeal by highlighting features and extending pool use into the night while creating a relaxing ambiance even if you just relax by the pool. Correct installation is vital for safety, requiring adherence to local codes, proper sealing, and grounding to avoid electrical hazards.
While a DIY installation pool saves money, professional expertise ensures functionality, durability, and optimal illumination. Our professionals can handle unforeseen issues, ensuring the project is completed efficiently, which reduces the risk of costly errors and potential safety hazards.
How to Install Pool Light Fixture: Step-by-Step Guide
Installing a New Pool Light
Understanding how to install pool lights for inground pools is crucial for enhancing your nighttime swimming experience. But it requires attention to detail and careful handling of electrical components near water. From positioning the light in the right spot to running the electrical conduit to finally connecting the wiring and installing the light fixture, there are plenty of steps to safely and effectively install your new pool light.
Positioning the Light
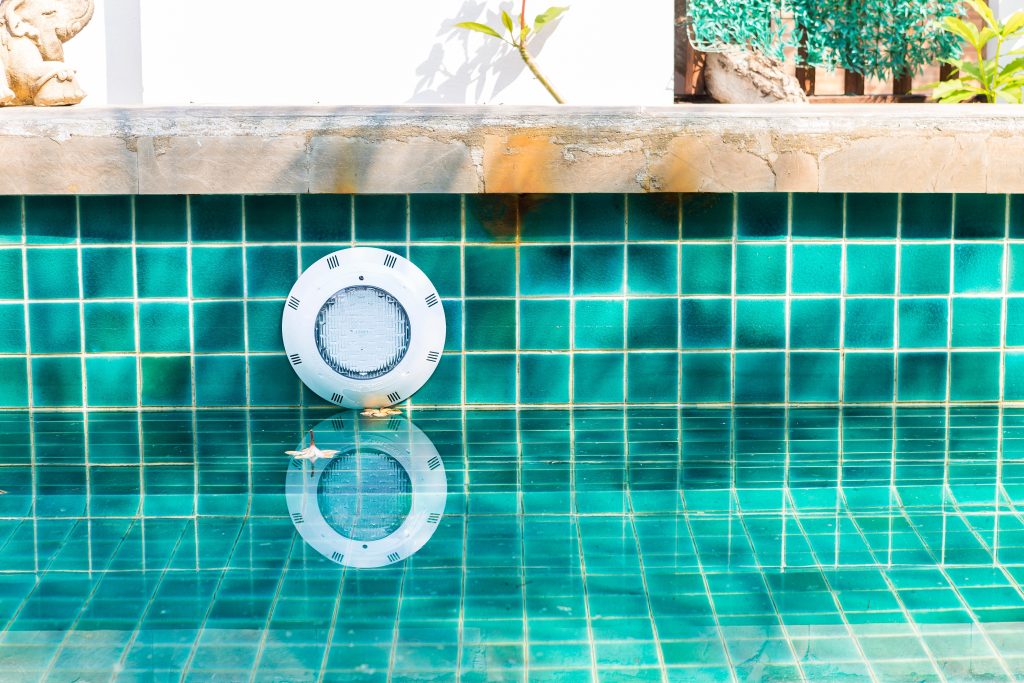
When installing a new pool light, start by choosing the best spot. Look for a place that will light up the whole pool evenly. Think about the pool’s shape and size, and avoid installing a light in areas where people tend to swim a lot. It’s best to install lightning by the sides of the pool. In case you want special lighting effects, plan for that too. Big pools might need more than one light. If you have the pool’s design plans, it’s best to use them to help you choose.
Cutting the Niche
To make space for the light, use a core drill for concrete pools or a hole saw for fiberglass or vinyl, ensuring the tool matches the light fixture size. Follow the manufacturer’s instructions and wear safety gear. Trim the niche after cutting to fit well, adjusting the hole if needed and smoothing the edges. Ensure the niche sits level when installed.
Running the Electrical Conduit
Plan the conduit path from the light to the power source, using sweep elbows for easy wire pulls and avoiding sharp turns. Secure the conduit to prevent movement and follow local electrical codes.
Apply waterproof sealant to all joints, ensuring a neat, thorough seal. Let it dry completely and test for waterproofing before proceeding, adjusting based on your pool type.
Connecting the Wiring
Guide the wires through the conduit using a pull string, ensuring you use the correct size wire and leave extra at both ends. Avoid damaging the wire, use lubricant if needed, and label them for clarity.
Follow the light’s wiring diagram, match colors, and use waterproof wire nuts and electrical tape for secure connections. Ensure the ground wire is properly connected and tested for safety.
Installing the Light Fixture
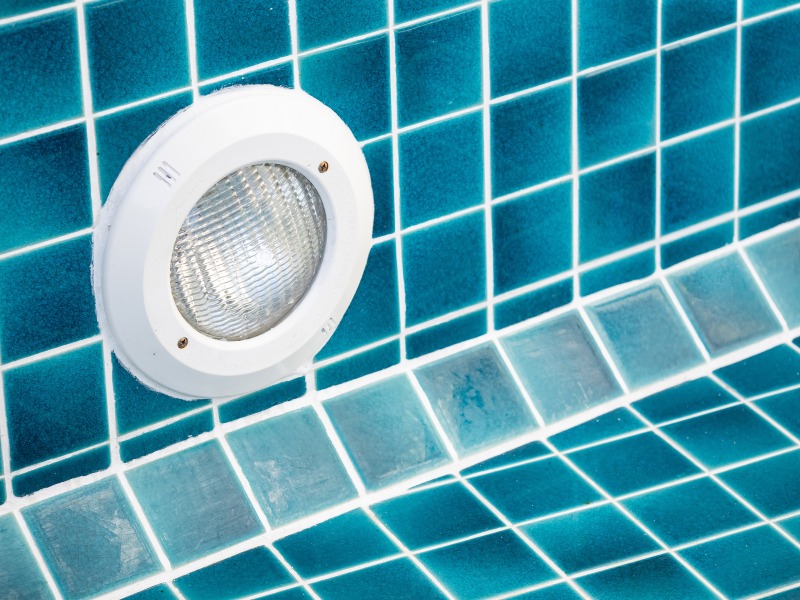
Carefully place the light fixture into the niche, securing it with screws or a bracket, and ensure it’s level. Install a new gasket or apply silicone sealant as needed to keep water out, wiping off any excess. Test the light by connecting it to power and checking for functionality and leaks. Fix any issues before turning off the power and making final adjustments.

Replacing an Existing Pool Light
Removing the Old Light
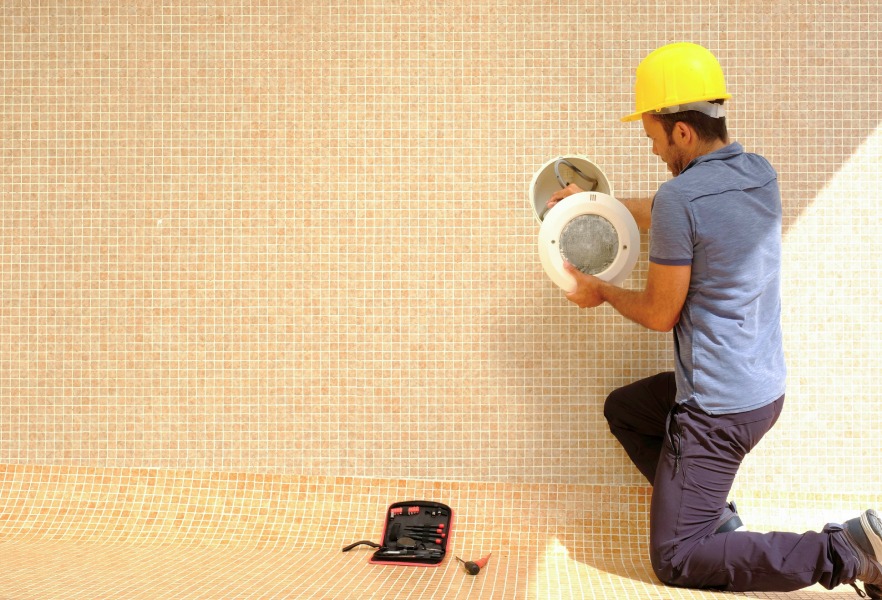
To replace an old light, first, turn off the power at the circuit breaker for safety. Unscrew the light and gently pull it and its cord from the niche, placing it on the pool deck. Open the junction box, disconnect the wires, and note how they’re connected to the new light.
Check the wires for damage and replace them if necessary, ensuring all connections are secure before installing the new light. If you’re unsure about any step in this process, don’t hesitate to consult a professional electrician to ensure safe and proper removal.
Installing the New Light
Connect the new light’s wires to the pool’s wires, matching colors and using waterproof wire nuts and electrical tape for protection. Neatly coil any excess cord in the niche and place the light into the niche, securing it with the mounting screw without overtightening.
Apply the new gasket or sealant as instructed to complete the installation. Test the light temporarily to ensure it functions correctly and check for leaks before finishing up.
Testing and Adjustments
Initial Power-Up
Turn on the circuit breaker and ensure the pool area is dry before powering up the new light. Listen for any unusual sounds, and be prepared to turn off the power quickly. Test the light switch, checking for even lighting and any flickering.
If the light has multiple settings or colors, test them and monitor the light for a few minutes to ensure it doesn’t overheat. Confirm that all connections are secure and no leaks are present before finishing up.
Adjusting the Light Position
Adjust the light to ensure it shines into the pool rather than out of it, making small changes and checking the effect each time. Aim for even illumination across the pool and consider highlighting specific features like a waterfall. Avoid bright spots or dark areas, and check the lighting at night to evaluate its appearance. Consult with the pool owners for their input on the final look.
Post-Installation Tips
Regular Maintenance
To maintain your pool light, clean the cover regularly with gentle cleaners to keep it bright, especially if your water has high mineral content. Inspect gaskets and seals during cleaning, replacing any that are worn to prevent water ingress.
Annually check wires and connections for rust or moisture, repair any issues immediately, and ensure the light is free of cracks with tight screws. Schedule a professional inspection if you notice persistent issues or for thorough maintenance.
Energy Efficiency Tips
To save energy, use timers for your pool lights. Set them to turn off during the day when you don’t need them. Consider using smart systems that allow you to control the lights with your phone. Adjust the timer settings as the seasons change and the days grow longer or shorter.
When replacing lights, opt for LED options. They consume less power and last longer than traditional lights. LED lights can also change colors, adding a fun element. Look for bright, energy-efficient lights. Although they might cost more initially, they will save you money over time.

Conclusion
Installing pool lights is a rewarding project that enhances both the safety and beauty of your aquatic oasis. By following the step-by-step guide outlined in this article, you can successfully illuminate your pool, creating a mesmerizing nighttime retreat.
Remember to prioritize safety throughout the installation process, from proper positioning and wiring to thorough testing and adjustments. With this knowledge of how to install pool light, you’re now equipped to transform your backyard into a captivating nighttime haven.
Regular maintenance and energy-efficient choices will ensure your pool lights continue to shine brightly for years to come. With your newly installed pool lights, you’ll extend your swimming enjoyment well into the evening hours.
